
TLDR
A DIY notebook cover printable vinyl project works best when you customize the notebook you actually have instead of relying on a universal template. Choose a smooth, sturdy cover, measure the visible front, and make a paper mock-up before printing. An inkjet-compatible adhesive vinyl panel can be cut with a trimmer or scissors, while shaped designs can be made with a compatible cutting machine. Test adhesion in an inconspicuous corner, apply the panel gradually, and avoid assuming that every vinyl-and-notebook combination will be waterproof, permanent, or removable.
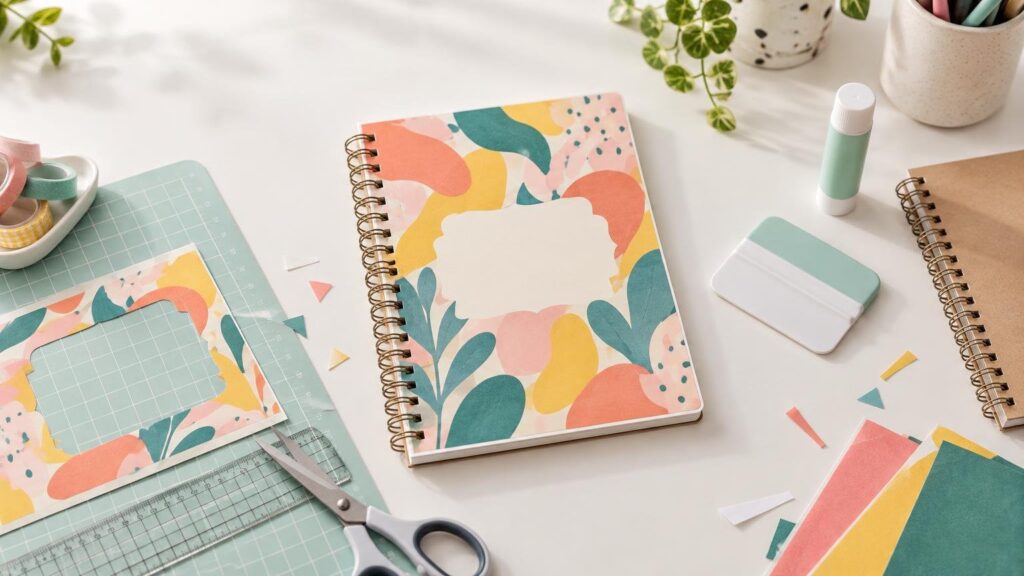
The easiest route is a rectangular panel placed slightly inside the cover edges. It provides plenty of room for a name, photograph, child’s drawing, favorite colors, or original artwork without requiring a complicated cut. Add a bookmark, pen, gift tag, and simple paper band, and the finished notebook becomes a useful present for a student, teacher, journal keeper, or coworker.
Choose a printable-vinyl cover style
Start by deciding how much of the notebook you want to cover. A large panel makes the strongest visual statement, but a smaller label is more forgiving on textured or flexible covers. The best option depends on the cover surface, your cutting tools, and how precise you want the application to be.
| Format | Best for | Main tradeoff |
|---|---|---|
| Full front-cover panel | Smooth, flat notebooks and artwork that benefits from a large canvas | Requires careful measuring and alignment |
| Framed name or subject label | Textured covers, beginners, and quick personalized gifts | Leaves more of the original cover visible |
| Printed art with separate vinyl lettering | Layered designs and names that may need stronger contrast | Adds another alignment and application step |
For a first attempt, use a rectangle with softly rounded corners. It is easier to cut, align, and smooth than an edge-to-edge wrap. It also leaves an intentional border that disguises tiny measuring differences.
Gather your notebook-cover materials
- A plain notebook with a relatively smooth, clean, and sturdy cover
- Inkjet-compatible printable adhesive vinyl
- A ruler and pencil
- Plain printer paper for proofs and a sizing mock-up
- A paper trimmer, craft knife and cutting mat, or scissors
- A soft scraper, brayer, or clean folded cloth for smoothing
- Optional corner rounder
- Optional compatible clear laminate made for printable material
- Optional Cricut or another cutting machine with a suitable mat and blade
- A lint-free cloth and a cover-safe cleaning method
- Gift-finishing supplies such as tissue paper, ribbon, a paper belly band, bookmark, or pen
Check the label for your exact printable vinyl before loading it into a printer. Printable adhesive vinyl is not the same as ordinary permanent craft vinyl or heat-transfer vinyl. Printer compatibility, printable side, recommended quality setting, and any handling requirements vary by product.
Pick a notebook that gives the vinyl a fair chance
A smooth, relatively flat cover is the easiest surface to customize. Deep fabric texture, powdery coatings, pronounced ridges, flexible covers, and heavily curved edges can reduce the contact area available to the adhesive. On those surfaces, use a smaller central label rather than a large panel.
Test a small offcut in an inconspicuous corner before committing to the final design. Press it down, leave it in place long enough to assess the initial bond according to the material maker’s instructions, and check whether the surface or its finish reacts poorly. This test cannot guarantee long-term performance, but it can expose an obviously incompatible combination before you use the finished print.
Measure your DIY notebook cover printable vinyl panel
Measure the visible width and height of the front cover rather than relying on a notebook size printed on the packaging. Do not include the spine, binding coils, rounded overhangs, elastic closure, or any area that cannot lie flat beneath the vinyl.
For an inset panel, a practical starting point is to leave a 1/8-inch border on every side. Subtract 1/4 inch from the measured width and 1/4 inch from the measured height. For example, if the usable flat area measures 6 inches wide by 8 inches high, the starting panel would be 5 3/4 inches by 7 3/4 inches. A wider border may look better when the notebook has strongly rounded corners or a decorative edge.
Cut that rectangle from ordinary paper and place it on the notebook. Check the border, binding clearance, orientation, and position of any closure strap. Adjust the paper until the panel looks intentional. This low-cost mock-up is more reliable than assuming a fixed A5 or brand-specific template will fit every cover.
Design a personal cover that remains readable
Build the design at the final measured size. Keep names, dates, and other important details away from the cut edge so that a small trimming difference does not clip them. Strong contrast is especially important for a notebook that will be seen from across a classroom or desk.
Personalization ideas include the recipient’s name or initials, a school subject, a meaningful date, an original pattern, a personal photograph, or a scanned child’s drawing. Use only images you created, own, or have permission to reproduce. Cricut likewise directs Design Space users to upload images they own or are authorized to use.
Print the design on plain paper before using vinyl. Place the proof on the notebook and inspect the physical scale, orientation, color, spelling, and text size. If a photograph looks too dark or a name disappears into the background, correct it now rather than after consuming the specialty sheet.
Print the vinyl without wasting a sheet
First identify the printable side and confirm how your printer feeds its sheets. Cricut’s material instructions recommend marking ordinary paper and running a feed test when the loading direction is uncertain. For Cricut’s printable sticker material, the company specifies an inkjet printer and warns against laser printing because printable materials can be sensitive to heat. Consult the official printable-material instructions if you are using that system.
Choose the print-quality setting recommended by your vinyl manufacturer. Cricut recommends high, best, or photo quality for its printable material, but notes that a lower setting may be needed if excessive ink causes smudging. That guidance should not be treated as a universal prescription for every printer and vinyl brand.
Handle the printed surface carefully and follow the material maker’s instructions before cutting or applying it. Do not invent a drying time: ink, printer settings, coating, humidity, and laminate systems differ.
Decide whether to add clear laminate
A compatible clear laminate can provide a sacrificial top layer for a notebook that will receive frequent handling. It may also change the appearance, flexibility, and cutting behavior of the material, so use a laminate intended for the printable product whenever possible.
Cricut’s Printable Waterproof Sticker Set combines printable vinyl with a laminate sheet. Its instructions call for laying the laminate from one edge and smoothing it with a brayer or soft scraper. That describes Cricut’s matched system; it does not establish that any clear film will make every notebook project waterproof or prevent every lifted edge.
Cut the panel by hand or with a Cricut
Option 1: Cut a rectangular panel by hand
Use a paper trimmer for the straightest rectangular edges. If you are working with scissors, lightly mark the back liner rather than the printed face. Soften sharp corners with a corner rounder or carefully trim each corner with scissors. Compare the finished panel with the paper mock-up before removing the liner.
Option 2: Use Print Then Cut
Print Then Cut places sensor marks around the printed design. A compatible Cricut scans those marks before cutting around the artwork. Cricut says the workflow should be printed and cut during the same Design Space session rather than saved as a PDF and printed outside the workflow, which can affect sensor-mark sizing.
Cricut’s current guidance lists Joy Xtra, Explore, Maker, and Venture families as Print Then Cut-capable, while Cricut Joy alone does not perform Print Then Cut. If you are new to the equipment, review this introduction to getting started with Cricut for crafting before using specialty material.
Use the material setting recommended for your exact product, then make a small test cut when possible. A kiss cut goes through the printable face while retaining the liner; a die cut passes through the complete stack. The practical differences are covered in this guide to kiss cuts and die cuts for Cricut sticker projects. For a single large notebook panel, either approach can work as long as the cut depth suits your intended handling.
Apply the cover without bubbles or crooked edges
Clean the notebook using a method that is safe for its surface, then let it become completely dry. Avoid applying vinyl over dust, grease, loose fibers, or damp cleaner. Position the panel with its liner still attached and use small removable paper tabs or low-tack tape as temporary alignment guides if they will not harm the cover.
- Place the lined panel on the cover and confirm the border on every side.
- Turn the panel over and peel back only a narrow strip of liner along the top edge.
- Return the panel to its planned position and press down that exposed strip.
- Lift the unapplied portion slightly while pulling the liner away a little at a time.
- Smooth from the center toward the edges as the adhesive meets the cover.
- Finish with gentle, even pressure, paying particular attention to the corners.
Do not drop the entire adhesive surface onto the cover at once. Progressive application gives trapped air a shorter route to the edge and lets you monitor alignment. If the panel lands noticeably crooked, check the material instructions before trying to lift it; repositioning can stretch the print, weaken the adhesive, or affect the notebook finish.
Troubleshoot common notebook-cover problems
- Smudged print: Confirm that the sheet is on the correct side, reduce excessive ink coverage or quality if the material maker recommends it, and avoid touching the printed surface prematurely.
- Bubbles: Smooth toward the closest edge with light pressure. Forcing a sharp tool across the surface may scratch the print or laminate.
- Crooked placement: Use a paper mock-up and temporary alignment guides. Expose only a small strip of adhesive until the top edge is positioned correctly.
- Weak adhesion: Stop pressing harder and assess the surface. Dust, texture, flexible coatings, or material incompatibility may make a smaller label a better choice.
- Print Then Cut sensor error: Check that the sensor marks are complete and unobstructed. Cricut warns that dark, glossy, reflective, or heavily patterned non-Cricut media can interfere with sensor reading.
- Incorrect cut depth: Use the manufacturer’s starting setting and test cut rather than assuming one pressure works for every vinyl, laminate, blade, and machine.
Turn the notebook into a polished gift
Repeat one element from the cover elsewhere in the presentation. A matching paper bookmark, inside-cover name label, pen loop, or gift tag makes the notebook feel like a coordinated set. A student gift could include sticky notes and a pen, while a journal gift might include a bookmark and a short handwritten prompt card.
Wrap the notebook in tissue and add a cardstock belly band instead of hiding the design in opaque wrapping. Place the personalized name at the center of the band or tie on a small tag with ribbon. For a larger batch, such as classroom or club gifts, you could pair the notebooks with coordinating custom stickers rather than cutting every small extra by hand.
If you make this project repeatedly, save the design dimensions, printer setting, material name, cutting choice, and a photo of the finished notebook. A consistent record makes it easier to reproduce the result, especially when combined with a system for organizing Cricut project files for repeat crafting.
The best next step
Begin with one smooth notebook, one rectangular paper mock-up, and one small adhesion test. Once the fit looks right, print a paper proof before loading the printable vinyl. Those inexpensive checks do more for a polished result than an elaborate design applied at the wrong size.
Treat the finished piece as a personalized notebook rather than assuming it is universally waterproof, permanent, or removable. Follow the instructions for the exact vinyl, printer, laminate, and cutting equipment you use. With careful measuring, gradual application, and a few coordinated gift details, even a simple front-cover panel can look deliberate and ready to give.