
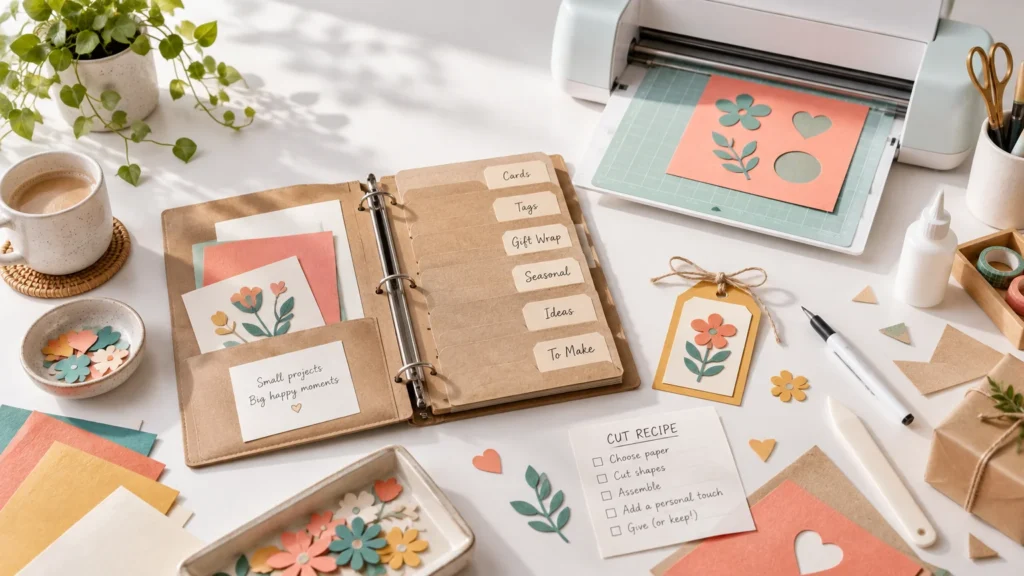
TLDR: To organize cricut project files for reliable remakes, give every project a searchable name, assign it to useful Design Space Collections, and keep its original artwork in a matching external folder. Add a short “cut recipe” recording the material, mat, blade or tool, machine, cut setting, test-cut result, mirroring, weeding, and assembly details. Preserve a tested master and create separate versions when you change materials, dimensions, or construction.
A saved canvas remembers the design, but it does not necessarily tell you which sheet of cardstock worked, whether you increased pressure, which vinyl needed careful weeding, or why one version assembled better than another. The easiest way to organize Cricut project files is to treat each repeat-worthy craft as a small project package: design plus source assets, production settings, and finishing notes.
Why a saved design is not a complete project record
Three different things work together in an organized Cricut workflow. The saved Design Space project is your working layout. Collections help you find and group saved projects. An external folder preserves the original SVGs, PNGs, printable files, font information, instructions, photos, and license records that may not belong inside the canvas.
Cricut’s Canvas guidance covers project saving, Save As, project naming, and layer renaming. Those controls are useful for version management, but they do not replace a separate archive of your source material. If you are still learning the basic machine workflow, review getting started with Cricut for crafting before building a more detailed filing system.
Think of Design Space as the place where you prepare and run the cut. Think of your external folder as the durable project record. Give both the same base name so a search in either location leads to the corresponding material.
Use a project-name formula you can search
A helpful name describes the object, occasion or theme, material, version, and status. Put the broadest identifying words first because those are the words you are most likely to remember six months later.
A practical formula is: Project type – theme or recipient – material – size – version – status. Examples include “Card – Birthday Stars – 80 lb Cardstock – A2 – v03 – TESTED,” “Shirt – Camp Staff – Everyday Iron-On – Adult L – v02,” and “Sticker Sheet – Garden Planner – Printable Vinyl – v04 – TESTED.” These are organizational examples rather than required Cricut syntax.
- Use TESTED only after the complete project has cut and finished successfully.
- Use DRAFT for incomplete layouts and RETEST when a material, printer, machine, or important dimension has changed.
- Keep version numbers simple and sequential: v01, v02, and v03 sort more cleanly than names such as final, final-new, and final-really.
- Rename generic layers such as “Square” or “Text” when their purpose matters. Names such as “score line,” “front vinyl,” and “do not resize” make later editing safer.
- Include a finished size when several versions look alike but fit different blanks, envelopes, jars, or shirts.
Preserve a tested master
Once a version works, stop making experimental changes to that copy. Use Save As to create a new version before resizing the design, changing the material, replacing a font, altering offsets, or rearranging attachment groups. This leaves you with a known working master instead of an overwritten file whose previous setup is difficult to reconstruct.
A color-only change may not justify a new version if construction stays identical. A new material often does because its cutting, weeding, transfer, or assembly behavior can differ. When in doubt, create a new version and add one sentence explaining what changed.
Use Collections as cross-tags, not rigid folders
Design Space Collections are most useful when they describe several ways you might look for a project. Cricut states that one project can be assigned to multiple Collections, so a single design can appear under an occasion, project type, material, and readiness label without creating duplicate projects. Cricut’s guidance to My Stuff and Collections
For example, the same holiday gift-tag project might belong to “Christmas,” “Gift Tags,” “Cardstock,” and “Tested Masters.” A teacher’s name-label sheet might belong to “School,” “Labels,” “Printable Projects,” and “Needs Retest.” Collections are alphabetized, so consistent prefixes can keep related groups together.
- TYPE – Cards, Labels, Shirts, Décor, Gift Tags
- OCCASION – Birthday, Christmas, School, Wedding
- MATERIAL – Cardstock, Adhesive Vinyl, Iron-On, Printable Media
- STATUS – Draft, Needs Retest, Tested Master
- RECIPIENT or CLIENT – only when that category contains enough projects to remain useful
Avoid creating a Collection for every tiny distinction. If you would not browse that category later, put the detail in the project name or cut recipe instead. Cricut can also change interface labels, features, and plan entitlements, so verify the current Collection options in your version of Design Space rather than building the system around a fixed limit.
Build a matching folder outside Design Space
Create one main folder for each project family and use the same base name as the Design Space project. This is where you keep editable originals and records that would be inconvenient to recreate. A cloud-synced folder can add accessibility and backup, but syncing should not be your only backup if the files are important.
- Create a folder named with the project type, theme, and year or version.
- Add a SOURCE folder for purchased or original SVG, PNG, JPG, PDF, or design files.
- Add an EXPORTS folder for the exact files uploaded or printed.
- Add a FONTS-AND-LICENSES folder or text record listing font names, download locations, and relevant usage records.
- Add a CUT-RECIPE file containing materials, machine setup, test results, and finishing notes.
- Add a PHOTOS folder with one canvas screenshot, one mat-layout screenshot if useful, and a clear photo of the finished craft.
Keep original files unchanged and place edited copies in the project folder. An original SVG can be useful if an upload is accidentally flattened, resized, or otherwise changed. For Print Then Cut projects, retain the printable export or source artwork as well as notes about the printer and paper used.
If a repeat sticker design eventually becomes too time-consuming for home production, clean source and export folders also make it easier to compare the home workflow with professionally printed custom stickers. For projects you continue making at home, this guide to DIY sticker crafts offers adjacent project ideas.
Create a cut recipe for every project worth repeating
A cut recipe is a short record of the decisions that affect production. It can be a text document, spreadsheet row, note, or printed card stored with the physical materials. The best format is the one you will update immediately after a successful cut.
| Record | What to write down | Why it matters |
|---|---|---|
| Project identity | Matching project name, version, and date tested | Connects the notes to the correct saved design |
| Material | Brand or source, product name, color, finish, and approximate batch if known | Materials with similar labels may cut differently |
| Machine setup | Machine model, mat grip, blade or tool, and blade condition | Tools and compatible options vary by machine |
| Cut setup | Selected material setting, default or changed pressure, and number of passes | Preserves the successful starting point |
| Test result | Clean cut, incomplete corners, backing cut, tearing, or pressure change | Explains why the final setting was chosen |
| Construction | Mirror status, material orientation, transfer method, order of assembly, and adhesive | Prevents finishing mistakes |
| Final result | Finished dimensions, fit notes, time-sensitive observations, and photo filename | Makes the project easier to reproduce or scale |
Do not treat the recipe as a universal setting chart. Machine model, blade condition, mat condition, material batch, density, design detail, and size can all affect the result. Cricut notes that thickness alone does not determine whether a material can be cut; density and rigidity matter too. A recipe is a proven starting point for your specific project, not a guarantee that every later sheet will behave identically.
Choose the material before locking the design
Finalize the real material before you approve tiny text, narrow bridges, intricate corners, or closely spaced cut lines. A detail that behaves well in smooth adhesive vinyl may lift or tear in fibrous cardstock. A design intended for a large shirt may need simplification when reduced to a small label.
Next, select a mat and blade or tool compatible with the material and your machine. Cricut generally associates LightGrip mats with lightweight materials such as printable sticker paper, StandardGrip mats with materials including cardstock, iron-on, and many vinyls, StrongGrip mats with heavier materials, and FabricGrip mats with fabric workflows. These are starting categories; the material should stay flat during cutting without being unnecessarily difficult to remove.
Tool choice also depends on the material and machine. Cricut describes the Fine-Point Blade for many everyday thin-to-medium materials, the Deep-Point Blade for thicker or denser materials, the Rotary Blade for soft materials such as fabric, and the Knife Blade for certain thicker materials on compatible Maker machines. Check current compatibility before buying or installing a specialty tool because not every machine supports every blade.
Test the cut and record the result
Start with the closest appropriate material setting rather than guessing at a large pressure change. Cricut recommends making a test cut and checking that the blade passes through the intended material without cutting too deeply into the mat. Use a small representative shape in an unused corner or on a scrap from the same material.
- Use the correct mat, tool, and actual project material for the test.
- Include a curve, corner, and small internal detail if the final design contains them.
- Unload or inspect according to the material workflow, then check whether all intended layers separated cleanly.
- If the cut is incomplete, change one variable at a time, such as a modest pressure adjustment or a fresh test area.
- Record the starting setting, adjustment, and result—even when the default setting works.
- Run a small section of the real design when its narrow details are more demanding than a generic test shape.
Design Space supports custom Fine-Point Blade material settings that can include pressure, multi-cut, and blade type. Cricut’s current guidance says custom settings can be created or edited on supported Desktop or iOS workflows, while Android can use settings created there but cannot currently create or edit them. Because software behavior changes, check the current help documentation before relying on that platform distinction.
Know when calibration is—and is not—the answer
Calibration is relevant when the workflow calls for it, not whenever a material fails to cut cleanly. If a Print Then Cut machine is consistently cutting beside the printed outline, use the supported Print Then Cut calibration process. Cricut’s process uses a printed calibration sheet and Fine-Point tool, and the resulting calibration is saved to the machine. Record the calibration date, printer, and machine in the recipe when those details will help you diagnose a future change.
By contrast, calibration is not the first response to cardstock that tears, vinyl that does not cut through, or a mat that no longer holds the material flat. Start those problems by checking material orientation, the selected setting, blade cleanliness and condition, mat grip, and whether the material shifted. Retest after changing one factor.
Save weeding, transfer, and assembly notes
Many repeat failures happen after the machine finishes. Add notes about which areas weed first, whether delicate elements need extra support, the order in which layers are assembled, and where alignment guides belong. For vinyl, Cricut defines weeding as removing the unwanted pieces while leaving the intended design on its liner; transfer tape and burnishing are then used to lift and apply the design.
- Whether the design must be mirrored and which material side faces the mat
- Where to start weeding and which tiny pieces are easy to remove accidentally
- Whether transfer tape needs reduced tack for the chosen surface
- Which layers share an alignment mark
- The order for scoring, cutting, drawing, pressing, adhering, or assembling
- Product-specific heat, peel, drying, or curing instructions that must be checked again before remaking
- A photo showing the finished orientation, placement, and scale
Retest when an important variable changes
A tested master reduces guesswork, but it should not prevent sensible retesting. Make a fresh test cut after changing material brands or batches, resizing intricate artwork, installing a different blade, moving to another machine, switching printers, or noticing weaker mat grip. Retest if the stored project has not been made for a long time and the current supplies differ from those in the recipe.
When the result changes, do not immediately replace the old recipe. Duplicate it, note the new material or setup, and preserve both outcomes. This is especially useful when the same design is produced in cardstock, vinyl, and printable media because each version can retain its own tested production record.
The simplest system to start today
Choose one project you know you will remake. Rename it with a clear formula, assign two to four useful Collections, create a matching external folder, and write a one-page cut recipe. Then add a finished photo and mark the exact working version as TESTED.
That small package is the repeatable project—not merely the image on the canvas. Once the habit feels natural, organize other projects when you open them instead of trying to rebuild an entire archive in one sitting. The goal is not a flawless filing system. It is being able to find the right design, load the right material, reproduce the successful setup, and understand what deserves a new test.
References
- Canvas screen – Design Space Guide – Help Center
- Using My Stuff and Collections in Design Space – Help Center
- Which materials can I cut with my Cricut smart cutting machine? – Help Center
- Which materials should I cut on the different machine mat grip strengths? – Help Center
- All About Cricut Blades and Machine Tools – Help Center
- How do I choose material settings? – Help Center
- How do I change the cut pressure on my machine? – Help Center
- Calibrating your machine for Print Then Cut – Help Center
- Chalkboard Vinyl: Cutting and Application instructions – Help Center